
The Raven has finally landed! I’ve been looking forward to this case with great anticipation since the Silverstone people told me about it when it was in prototype stage. It was such agony to keep quiet about it even though I was so excited by this completely new concept that Silverstone had come out with. Before I start the review, I'd like to send out a big huge thanks to Silverstone Taiwan and Inter-Asia Technology Sdn Bhd for providing me with this case.
Introduction
I was really looking forward to the new layout of the motherboard placement which now has the I/O ports on the top of the case. I’ve always had a liking for non conforming layouts as I’ve always felt that the ATX standard is being left behind by PC components which are getting more powerful and much hotter by the day. In fact, a quad core + SLI rig is more like a nuclear reactor sitting in our homes. We enthusiasts need something better than ATX for sure. The new layout draws in cool, clean, filtered air from the bottom of the case and pushes it upwards through the motherboard and graphics cards and then exits straight out the top of the case. What better way to cool a PC than to follow one of the basic laws of physics in that hot air rises up.
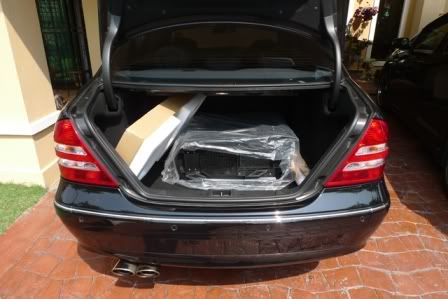
Let’s get on to the case now. My first impression is how humongous this thing is. I had planned to go pick up the case from the Silverstone sole distributor in Malaysia(Inter-Asia Technology Sdn Bhd) using my MPV. However, on the day that Inter-Asia called me, the MPV was already in the service centre for its scheduled maintenance. So I had no choice but to go pick it up in my sedan. Would you believe it wouldn’t fit in my car? The only way I could do it was to remove the Raven from the box and put it in the boot.
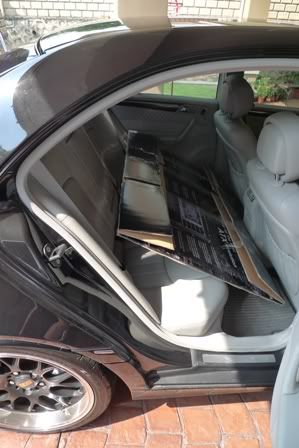
The box had to be folded up and put in the back seat area.
I’ve always had a thing for opening up a big huge box filled with Silverstone goodness whenever a new one arrives at my house. I used to enjoy the whole process of making the very first cut on the box to the most exciting part where I lift the big bad wolf(Ooops! Sorry, it’s a Raven this time) out of the box. I’ve had no such joy this time as I had to do the whole thing out in the parking lot.
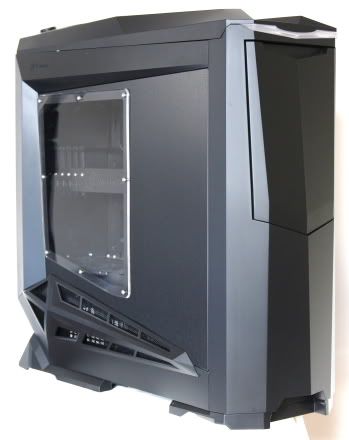
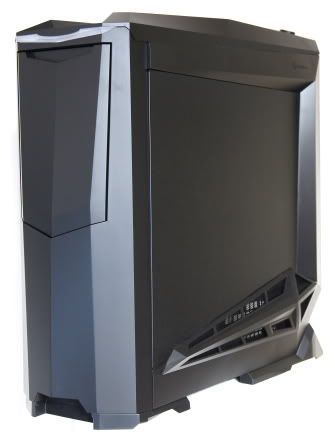
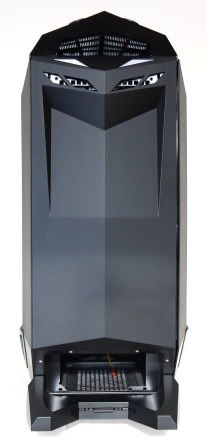
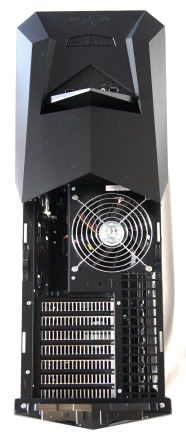
 Oh well, no pictures of the box this time. I’ll just start off with an overall look at the case.
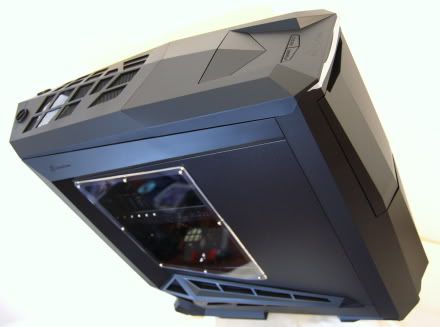
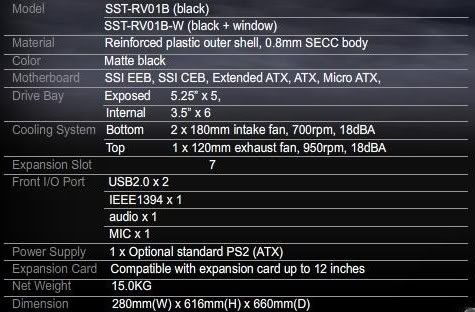
Specifications
The front panel
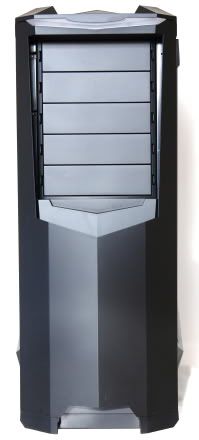
The front door opens by pushing it in and sliding down until it clicks into the locking position right at the bottom. To close it, just press down on the click lock and it will release the door to slide back up. It’s quite hard to explain this so I made a video of it.
Pretty cool huh? I sat there and played with the door for a few minutes. It’s so mesmerizing, the way it slides up and down.
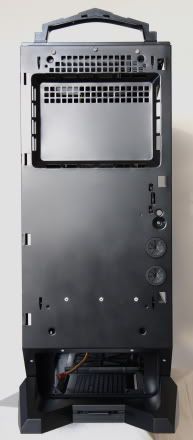
The rear panel
Here’s how the rear panel looks like.
The I/O ports are on the top now, there’s nothing on the back. It’s just a plastic cover. There is a really cool feature behind the cover though. It’s very easy to remove by taking out one screw. This is how it looks like with the rear cover taken off.
Look closely and you will see that there are two holes in the back for water cooling hoses. It also comes with a mounting kit for a radiator. I don’t have a 3x120mm radiator on hand but it certainly looks like it will take a big huge 3x120mm radiator on the back there. A very nice feature indeed.
The PSU mount is located right at the very bottom of the back panel.
Below that is an air filter that slides out for easy maintenance and cleaning.
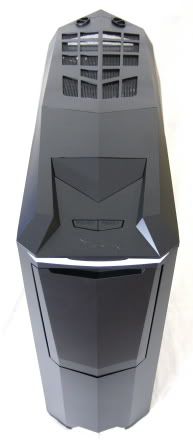
The top panel
Here’s how the top panel looks like.
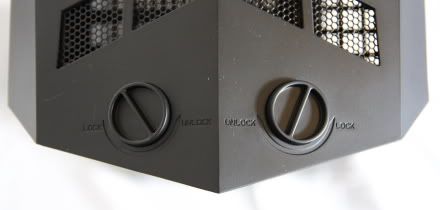
In order to gain access to the I/O ports and also to remove the side panel, these two knobs on the top need to be turned. Here’s a picture of the knobs in the locked position.
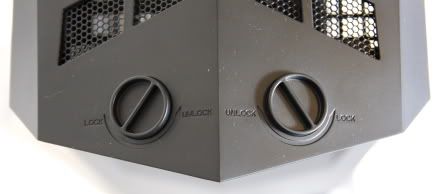
Turn it to the unlock position like this to release.
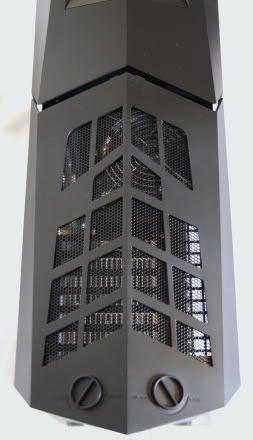
The rear piece covering the ports slides off after unlocking the knobs. This section of the top panel is generously vented as the heat from the graphics cards and 12cm fan exhaust through it. This is the main exhaust area.

Top panel with cover removed
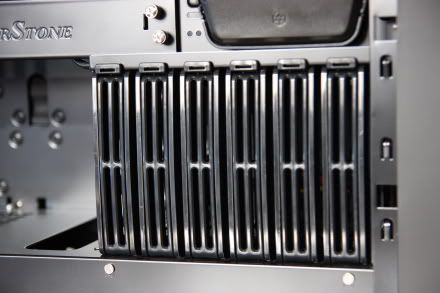
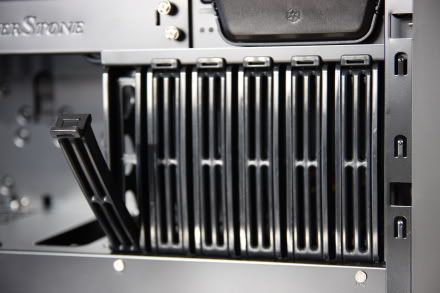
With the top cover removed, we now have full access to the ports. The PCI slots are covered with Silverstone’s Aero slots. Kudos to Silverstone for including these really nice vented slots instead of making it optional equipment. The 12cm exhaust fan is located up here too. It’s a low noise fan rated to run at only 950rpm.
This is the front part of the top panel. The on/off and reset buttons are located here.
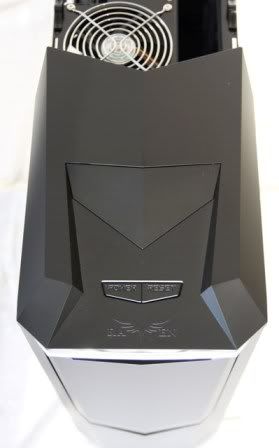
Flick open the flap and it reveals the extra USB, firewire and audio ports.

Inside the Raven
This is where the case really looks outstanding. If you thought the exterior looked awesome, wait till you see the insides. Immediately upon taking off the side panel, all I could say was “WOWeeeeeeee!!!!!!”. Look at how the motherboard tray is rotated 90 degrees to the right. That’s what makes this case so unique. The graphics cards and CPU cooler can now vent straight out the top of the case. Perfect solution in terms of thermo dynamics since hot air rises.
Here’s an overall look at the inside of the case.
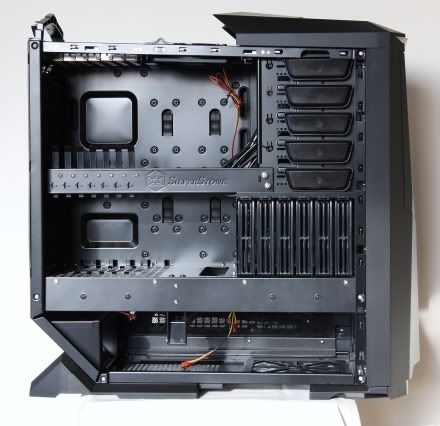
The horizontal bar with the Silverstone logo embossed in it is the graphics card support bar. It has clips to hold the graphics cards securely so they don’t fall out of the PCIe slots. I suspect most people won’t be using this bar though. I certainly won’t be using it as I need all the space I can get to fit in a giant CPU heat sink. Besides, most modern graphics cards have pretty thick PCBs which are resistant to bending and shouldn’t have problems staying in the PCIe slots provided we lock the thumbscrews securely to the case.
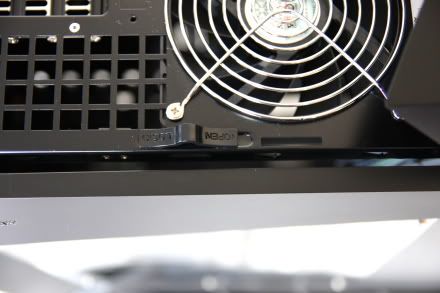
To remove the top panel just push on this lock next to the top exhaust fan to the open position and slide the panel off.
Panel on.
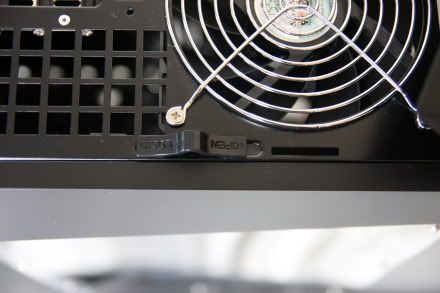
Panel off.
This is the other side of the case where we can see the motherboard tray’s wiring provisions.
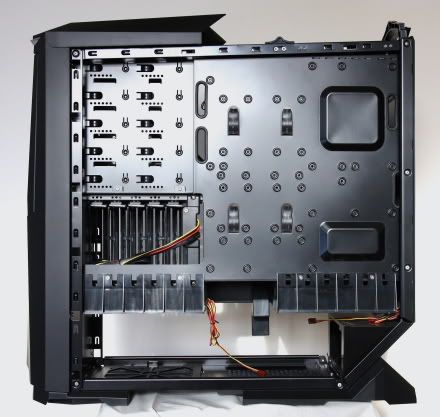
The motherboard tray is awesome. Look at all those wire management holes and clips. It’s the perfect solution for wire management freaks like me who try to make the internals look like its wireless. This layout is going to make my life so much easier as everything is provided for. I don’t have to modify the tray in any way. Just route the cables through the back and hold them down using the provided clips. Wire management has become simple as 1,2,3. The most difficult part of wiring management for me has always been the wires at the bottom of the motherboard that connects to the power, reset, USB and audio ports. It’s now so simple to just push the wires through the holes at the back and route them to the top panel.
The DVD ROM slots have a very nifty design. All it takes is a click and the mechanism releases the lock. Here’s a picture of the new ROM slot locks.

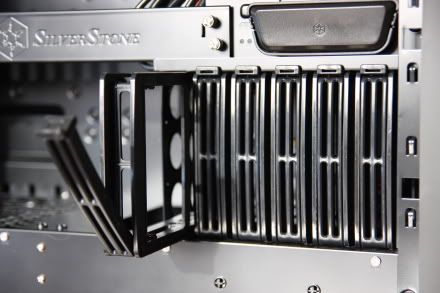
Another really impressive feature is the hard disk compartments. The quick release feature is elegant and it works a treat. Here’s how the HDD compartment looks like.
To open it, click and pull the lever down.
After that, pull the tray outwards and the HDD comes out easily like this.
HDD hot swap connector.
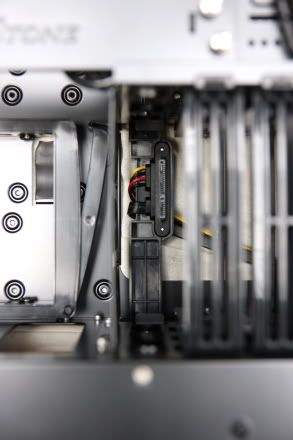
This first tray that I’ve chosen to show in the pictures comes with a hot swap SATA connection. If required, you can buy the optional hot swap modules called CP05 and make all the HDD trays hot swappable. With the CP05, the HDDs can be swapped between the Kublai, Fortress and Raven series cases easily.
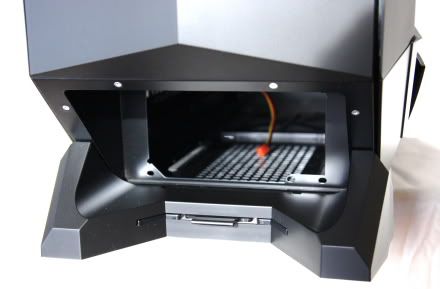
Let’s take a look under the case now.

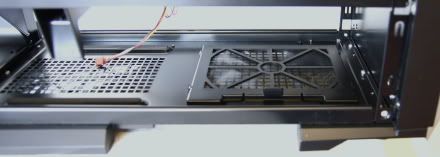
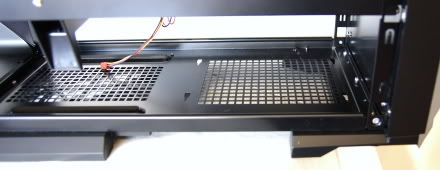
The intakes are completely filtered. There are no unfiltered intakes in this case. The bottom has two intakes. The rear intake is for PSUs with a bottom fan. The front intake is for the rest of the case to intake cool, clean air from under the case. Look a little bit higher up in the picture and you will see the two intake fans. They don’t look extraordinary in this picture though.
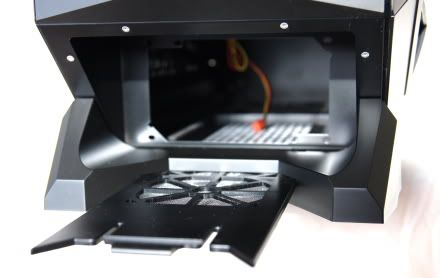
Until you see this!
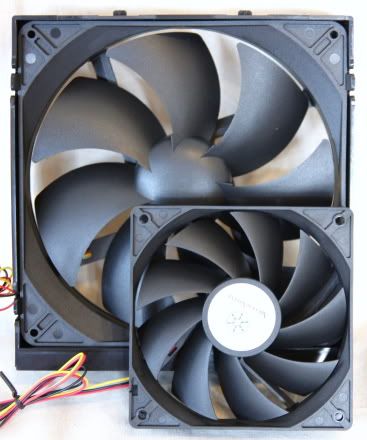
They’re 18cm fans! The picture above shows a 12cm fan next to it for size comparison. Makes the 12cm fan look like a puny little thing doesn’t it? That 18cm fan is hugeeeeeeee. They are specified to run at only 700rpm so it should be as quiet as a church mouse while moving lots of air with those big huge blades. The rear 18cm fan blows over the motherboard area while the front 18cm fan blows over the HDD compartment.
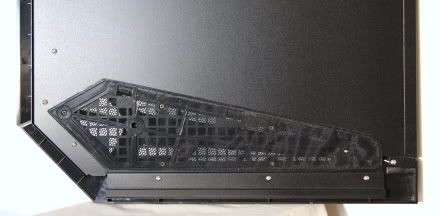
Here’s a closer look at the filtered intakes.
Bottom intake with the filter installed.
Bottom intake with the filter removed. It’s very easy to remove, just slide it off the mount and it comes out easily for cleaning purposes.
Side panel intake.
Both side panels have intakes too. Unfortunately, these side panel filters are not easy to remove like the PSU and bottom intake filter. They don’t just slide off. These side intakes need to be removed with a screw driver. They really should have made some quick release filters for the side panels as well.
Conclusion
I love this case! It looks absolutely fantabulously beautiful and has a revolutionary thermal system plus a superb wire management system. I’ve been waiting anxiously for this case for such a long time ever since I saw the prototype and I haven’t been disappointed in any way. The only gripe I have is the side intake filters that are not quick release.
Build quality and materials used are top notch. The plastics are of a really high quality and the metal parts are heavy gauge steel. It’s a nice solid case worthy of protecting high end components for a superb gaming rig. I wouldn’t recommend it for LAN parties though, this Raven is one heavy bird. In summary, I give it a full kick ass rating for having style and substance. This Raven is one mighty bird!
If you liked this article or found it helpful, please check out the advertisements ya? You can also buy the Silverstone Raven from Amazon through the link below. Your support is much appreciated. :) :) :)