
First of all, I just wanna say thanks to all my gracious and wonderful sponsors Silverstone, Inter-Asia Sdn. Bhd, Team Group, Arctic Cooling and E-Devices Sdn Bhd for sponsoring Project King Kong.
Project King Kong sponsors-


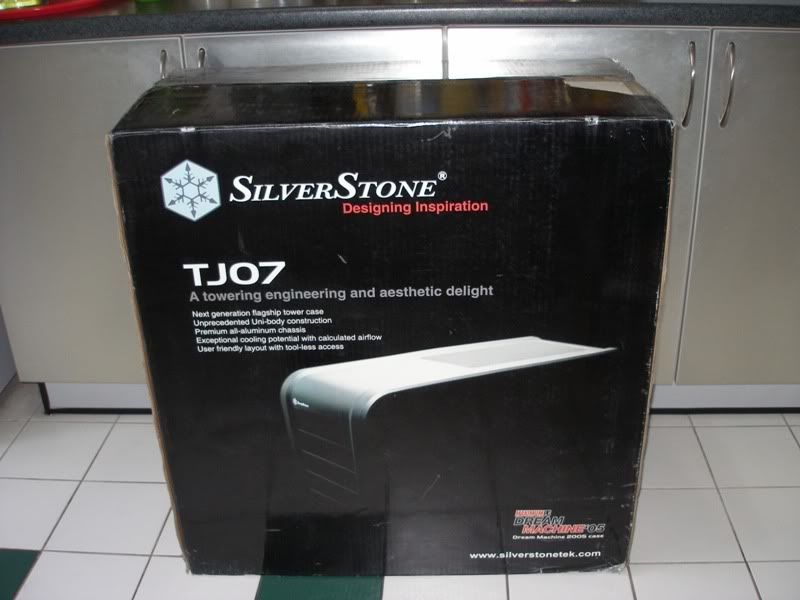
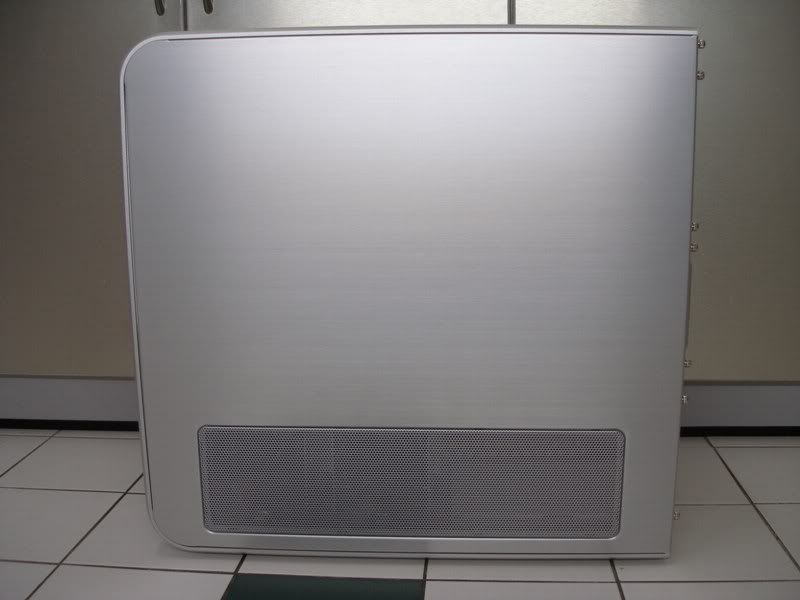
Here's some pix of how the stock standard Silverstone TJ07 looks like.
Look at how big the box is. It's humongous! It's nearly as tall as my kitchen counter if you look carefully at the pix. How tall is that? Just go to your kitchen and imagine the box is as tall as your kitchen cabinets.
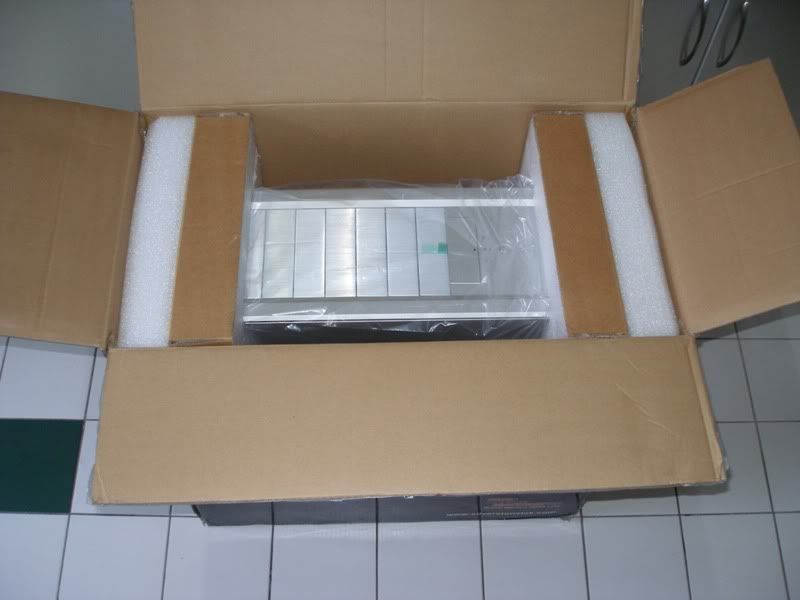
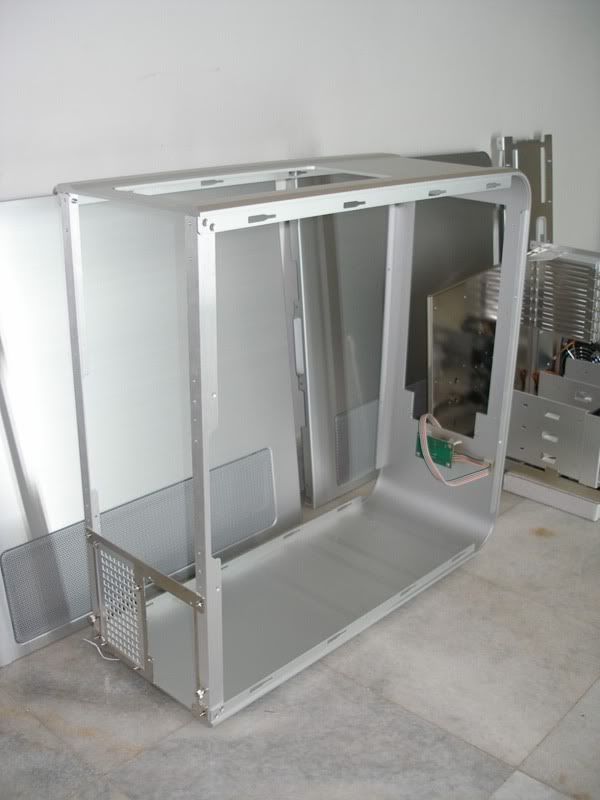
Wheeeeeeeeeeeeeeeeee, King Kong's new cage is coming out. Even just peeking out like that, u can see just how lovely that aluminum chassis is.
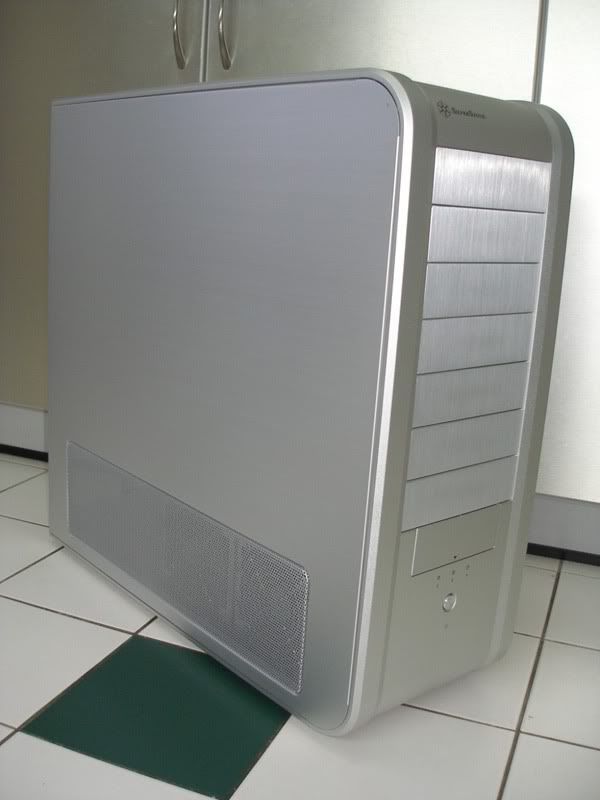
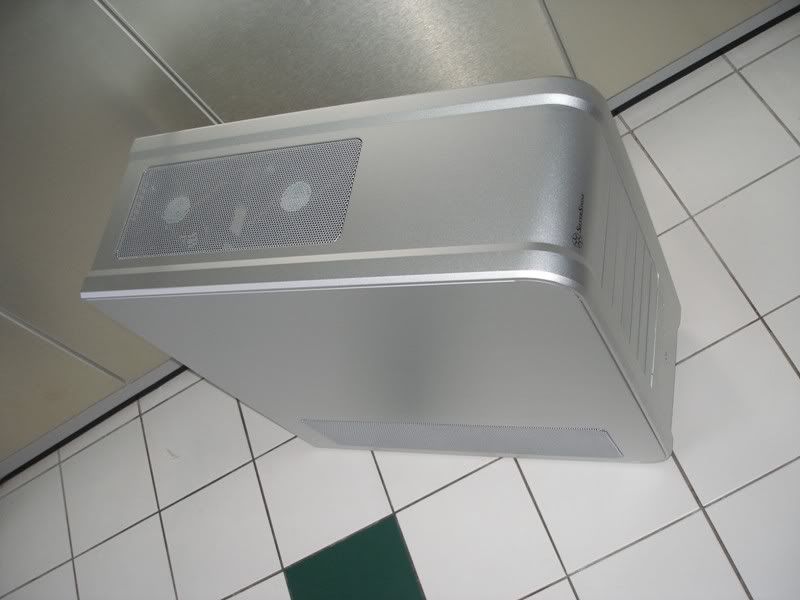
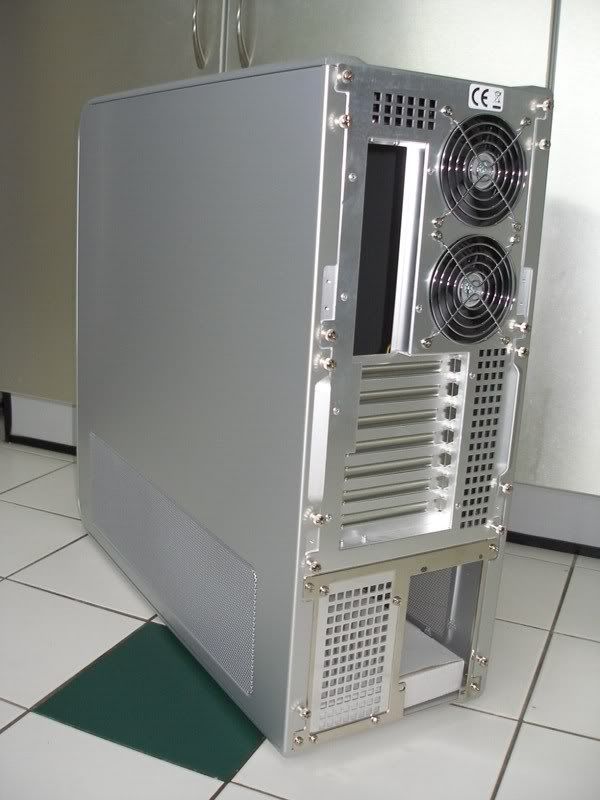
Front 3 quarters view. That's the most beautiful part of this case. That front panel is actually 1 whole piece of extruded aluminum starting from the top to the front to the bottom. The case consists of that single piece n the 2 side panels. Looooooovely.
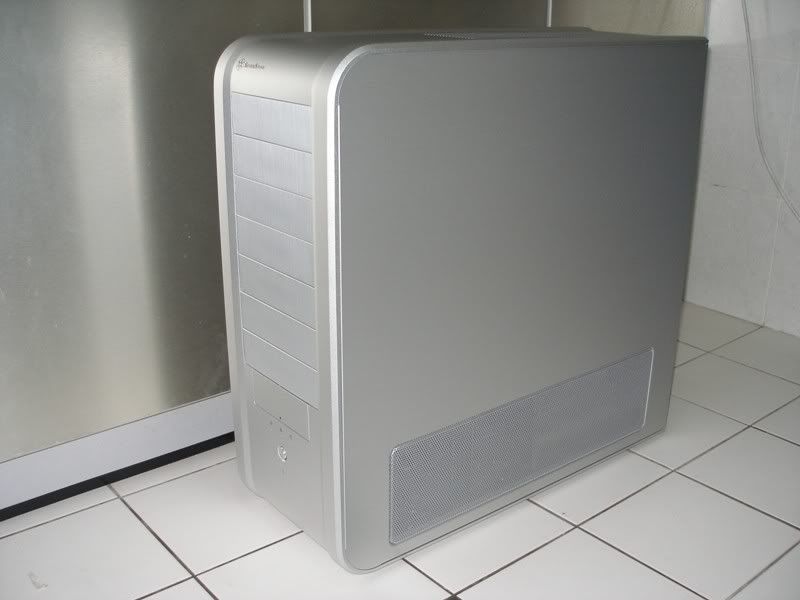
Left side.
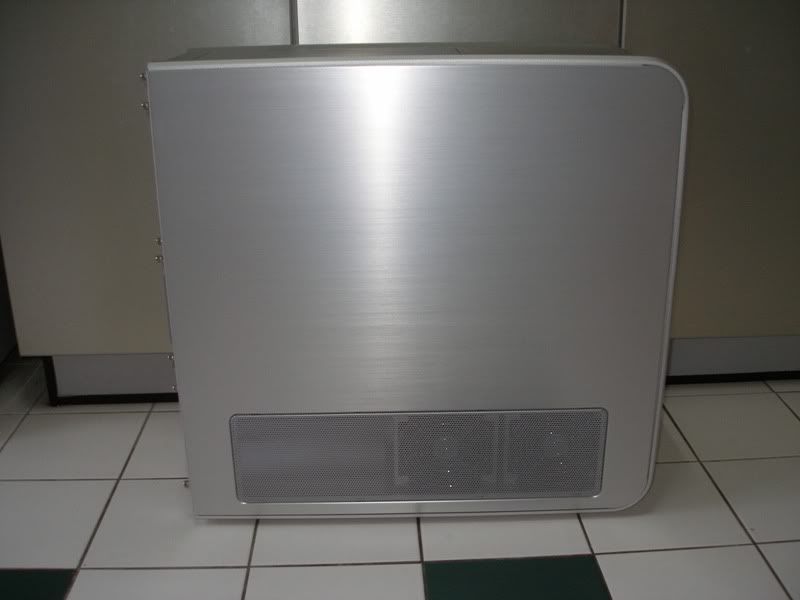
Right side.
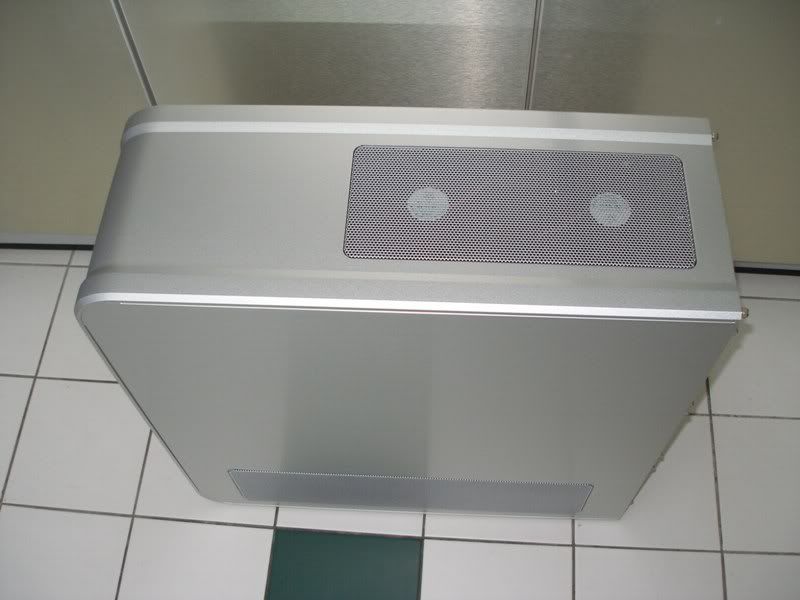
Top of the case. It's got a really nice exhaust with 2x120mm fans up there. I can install a really nice 2x120mm radiator there if I ever get back into watercooling.
Rear view. Look at the bottom section. It can take 2 PSUs. This is most useful for the people who cant afford a single monster PSU.
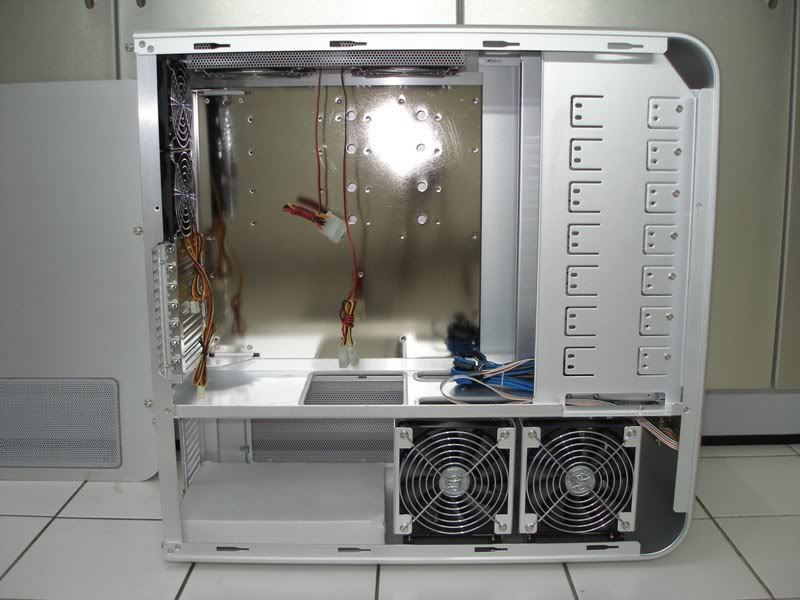
Internal pix.
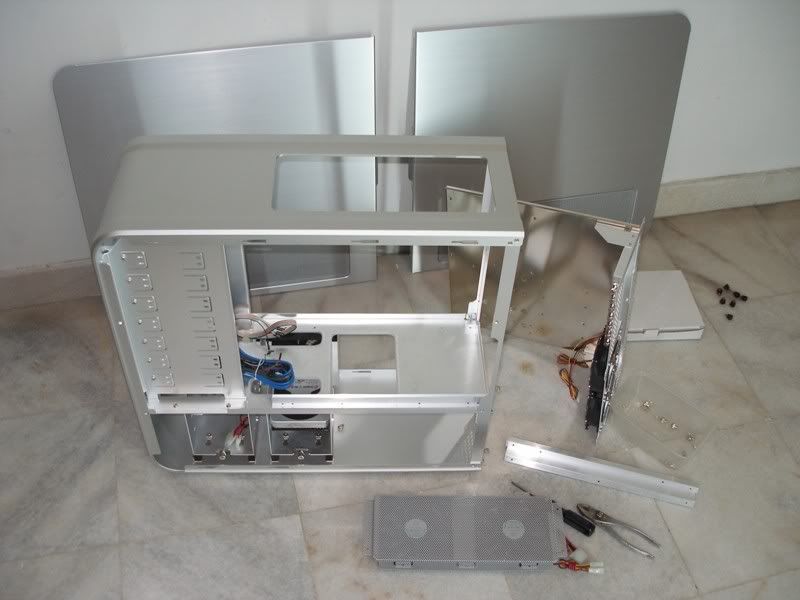
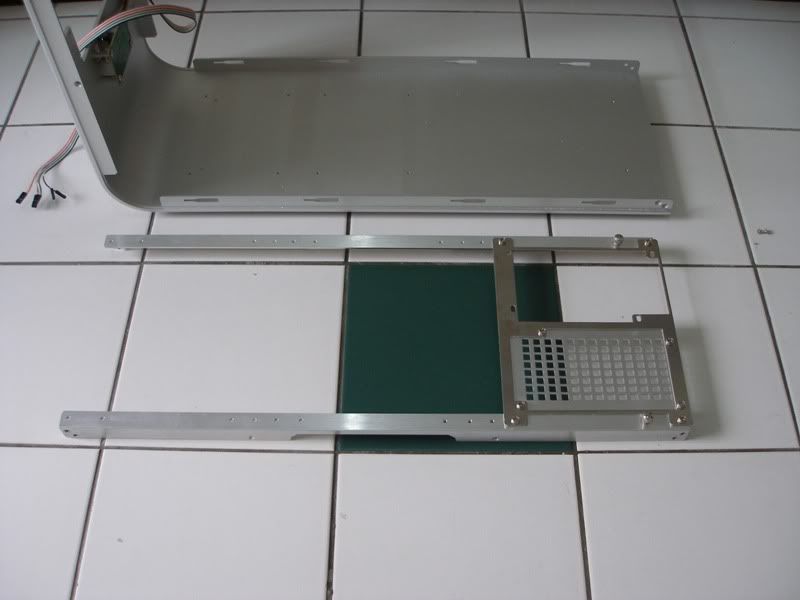
Stripped the case down to study the structure n construction of the case. This will allow me to get more ideas on what to mod n how to mod it later. There's a lot of things to study b4 really getting down to modding it coz this case is really modular. It's like a box of Lego blocks. Practically the whole case can be stripped down n removed to individual parts. So far I've only seen 3 rivets. The rest r all screws. Anyway, here's a pic of the mobo tray removed.
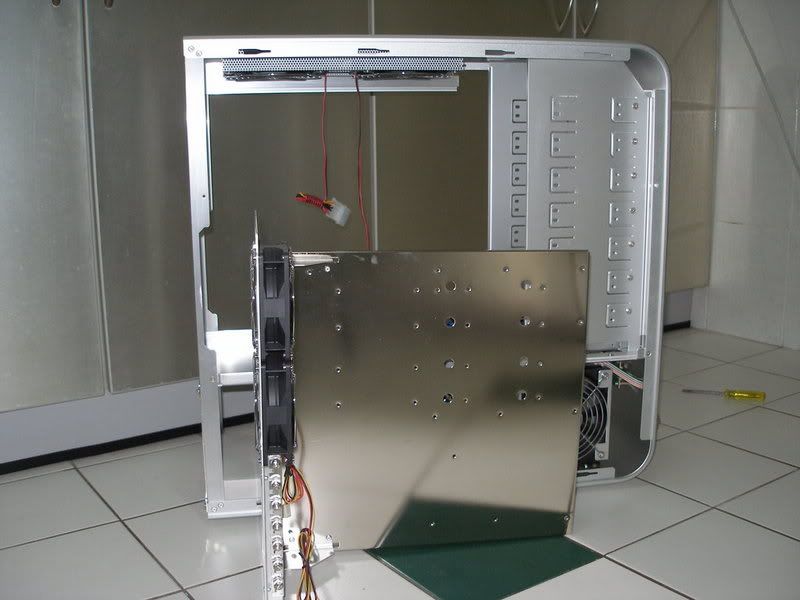
See how bare the case is after removing the mobo tray? That's because it's so modular. The mobo tray's rails can b removed too. That leaves just the 2 support bars standing at the back. I'm thinking BTX style conversion to show off sum monsters that I will b plugging into the PCIe slots later on.
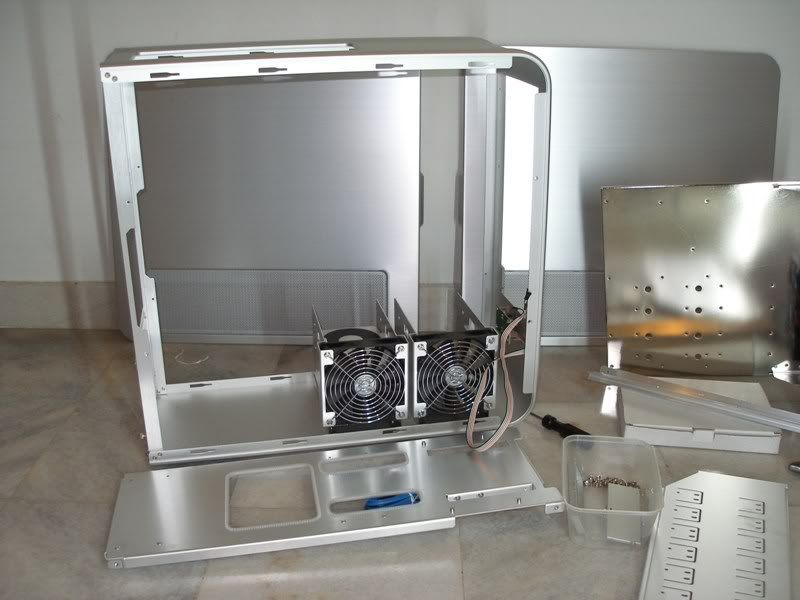
Started by removing the mobo tray, tray rails n the top exhaust fans n mesh mounting.
View from the top
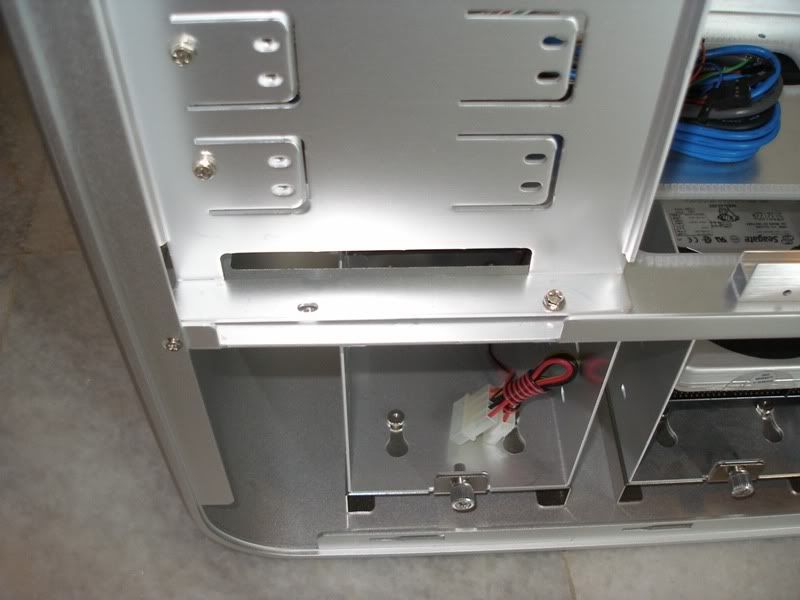
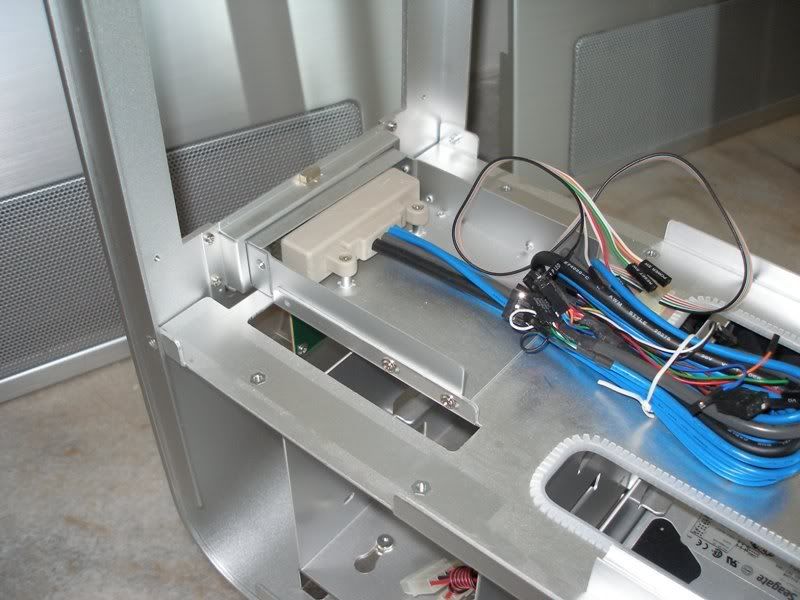
Sum pix of the chassis mounting joints. They're all screwed together. This 1 is a pic of the lower part of the ROM cage.
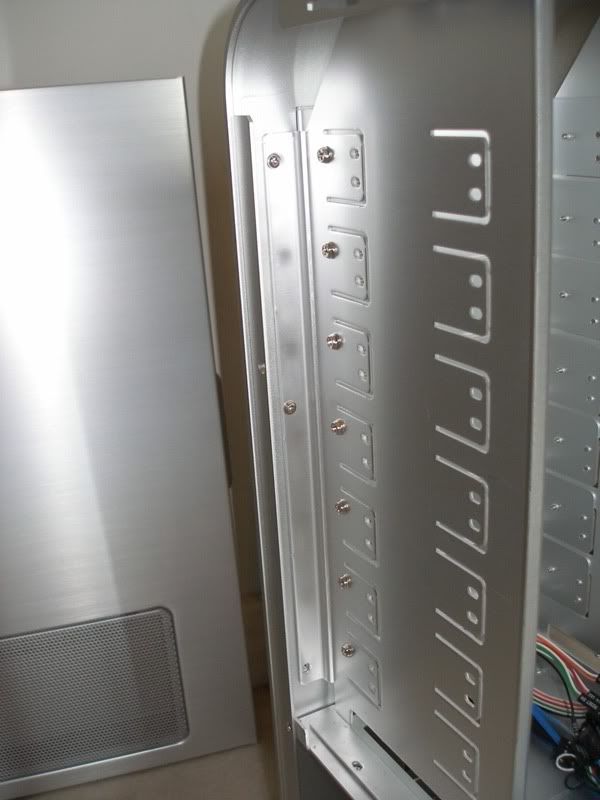
Side view of the ROM cage.
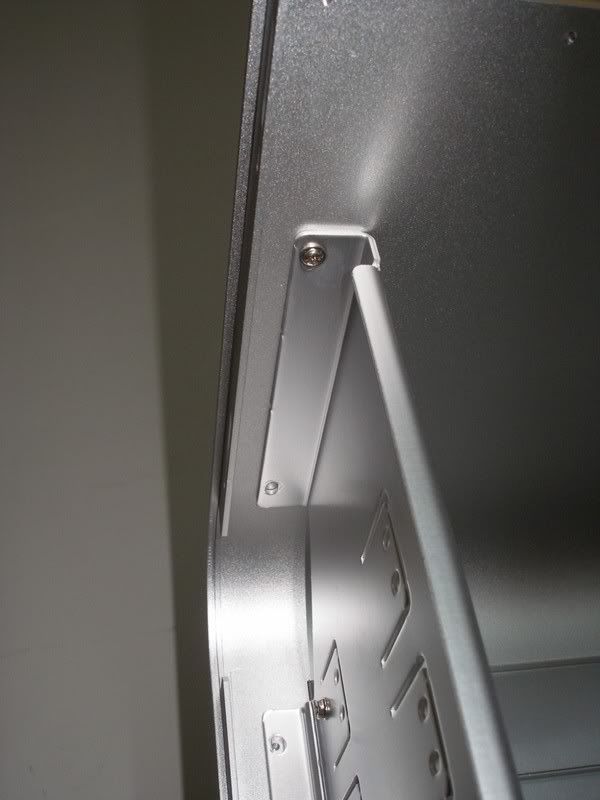
Top of the ROM cage.
After removing all those screws, the entire ROM cage structure comes out just like that.

It's now time to remove that divider plate between the mobo n PSU sections of the case. I hafta remove the USB ports at the front n sum screws on the sides b4 I can remove the divider plate.
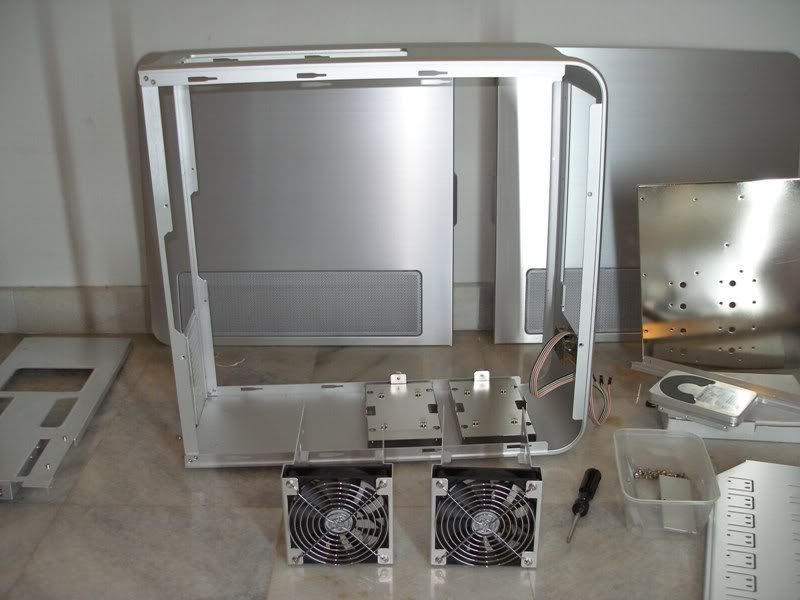
Got down to more stripping work. In fact I stripped it down totally until nothing is left. After removing the USB ports, I removed the divider plate. Here's how it looks like without the divider.
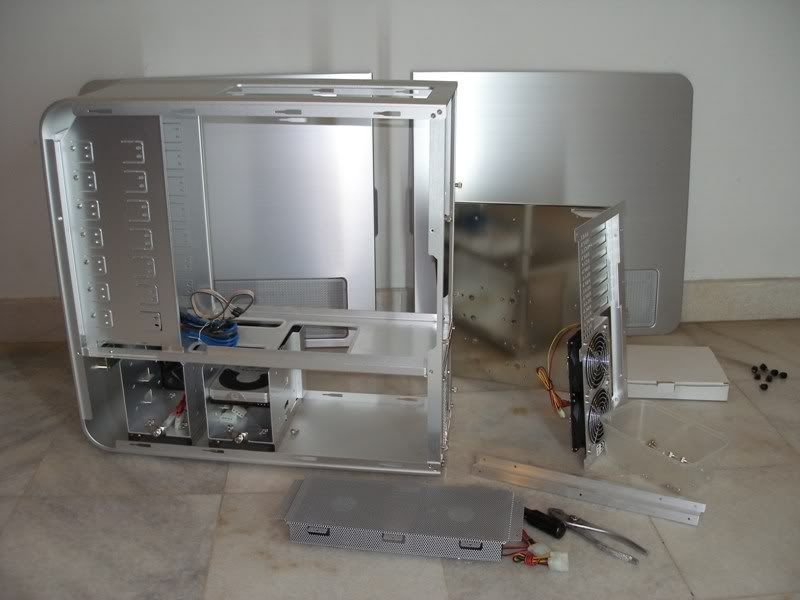
It's already pretty bare but there's more stuff to remove. The HDD cages.
Everything is now removed except for the PSU mounting plate at the back. Look at all those parts that have been removed! It's my loooooooooovely box of Lego blocks.
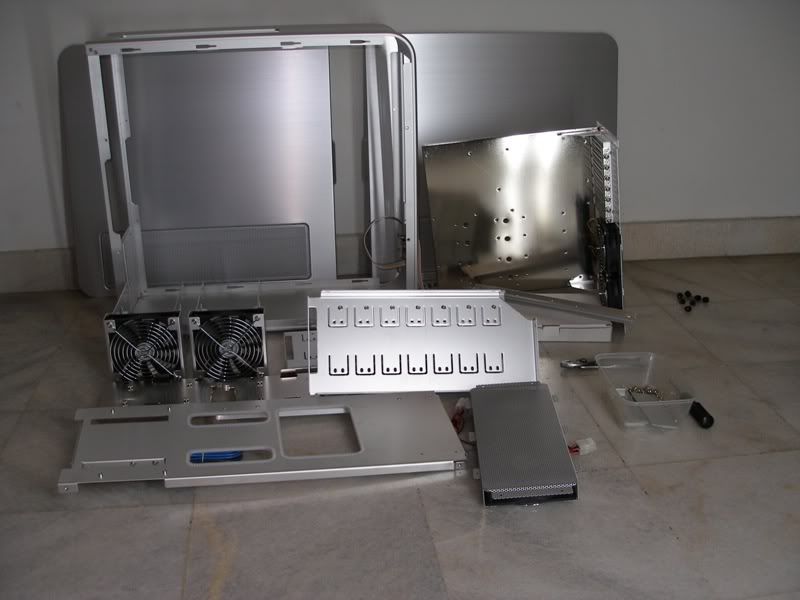
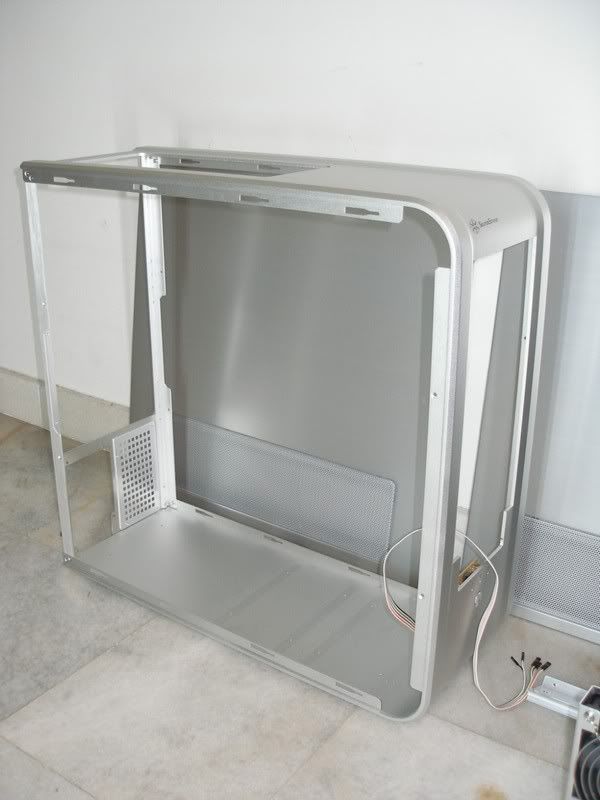
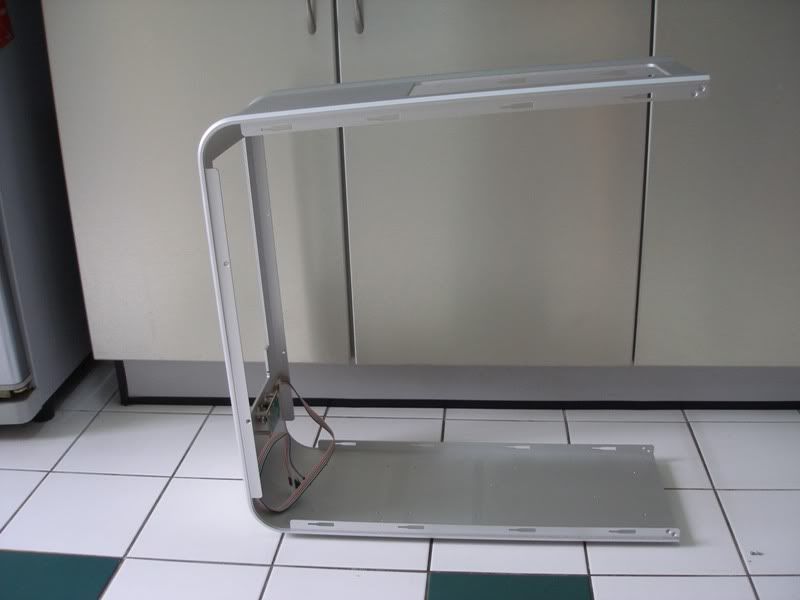
Here's how the chassis looks like now. Absolutely bare except for the PSU plate. I left it on coz it doesn't affect my work on the case. Actually the 2 bars at the back n the PSU plate can b removed too. Then all u'll b left with is the main Aluminum Unibody(the U shaped part).
Time to remove everything. Absolutely everything!
1st thing I did was to remove the rivets holding the mobo tray's rail on the divider plate. U can c the rail on the divider here.
Turned it over so I can access teh rivets from the back.
drill drill drill n it's almost out.
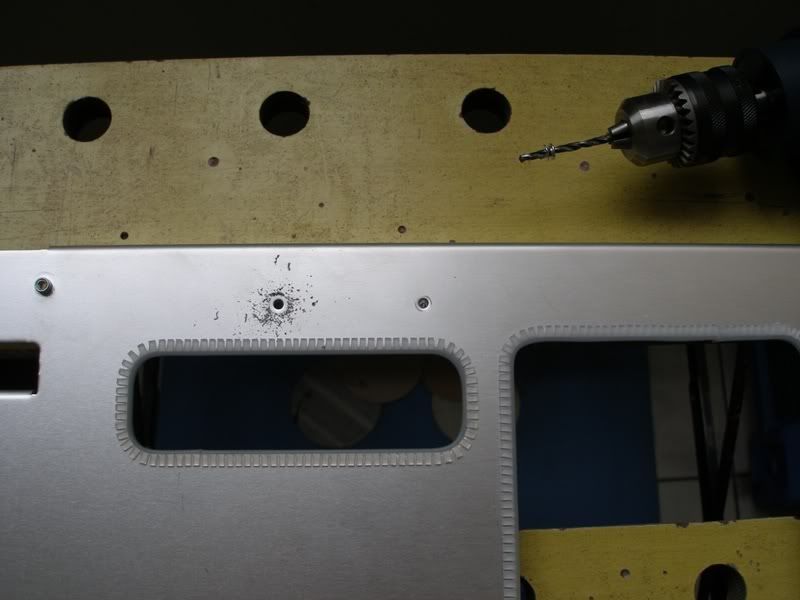
The dreaded rivets r out! Begone u evil rivets. I sentence u to Ian's Dungeon of Obsolescence forever!
Now it's time to remove everything from the Unibody chassis. Removing the screws holding the rear alu pipes to the Unibody in this pix.
Closer view of the rear pipes.
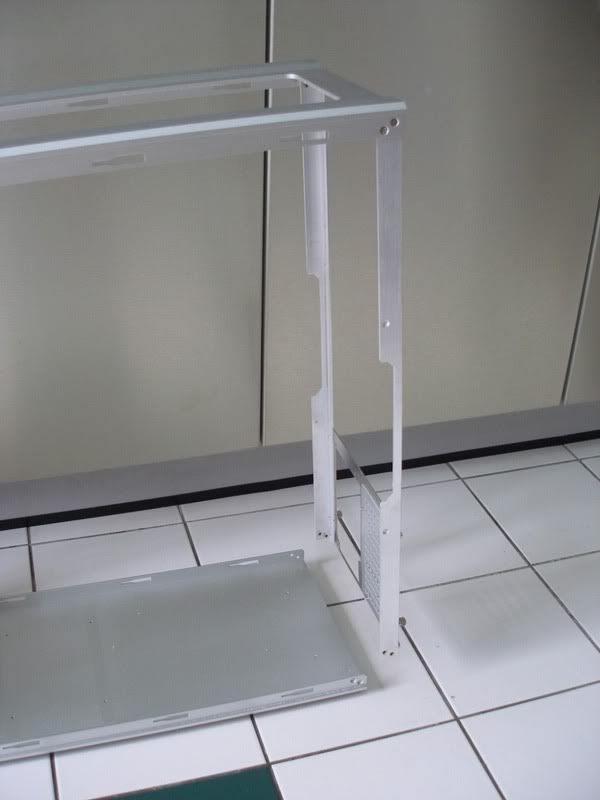
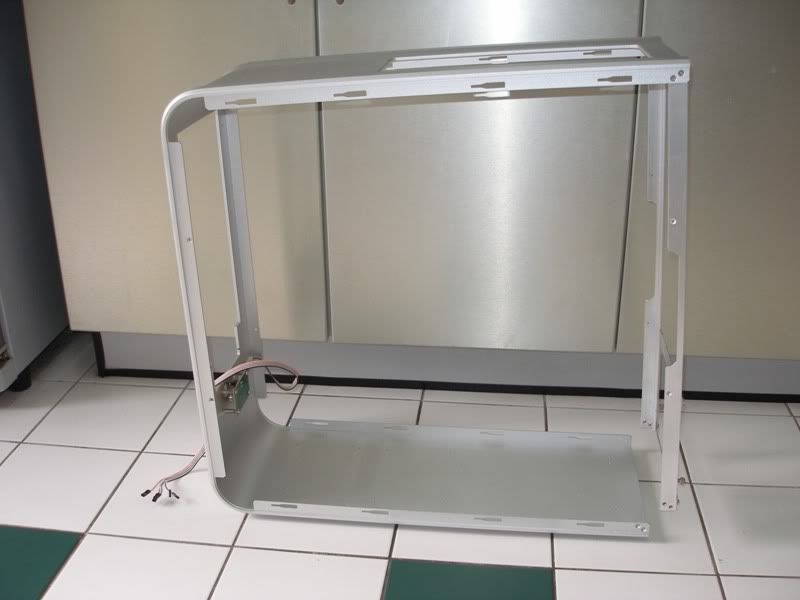
The rear section is now completely removed.
Now u can c y the unibody chassis is so strong. C how the thing is actually expanding outwards instead of the normal square shape. It's pretensioned like a spring. That gives the chassis extra strength.
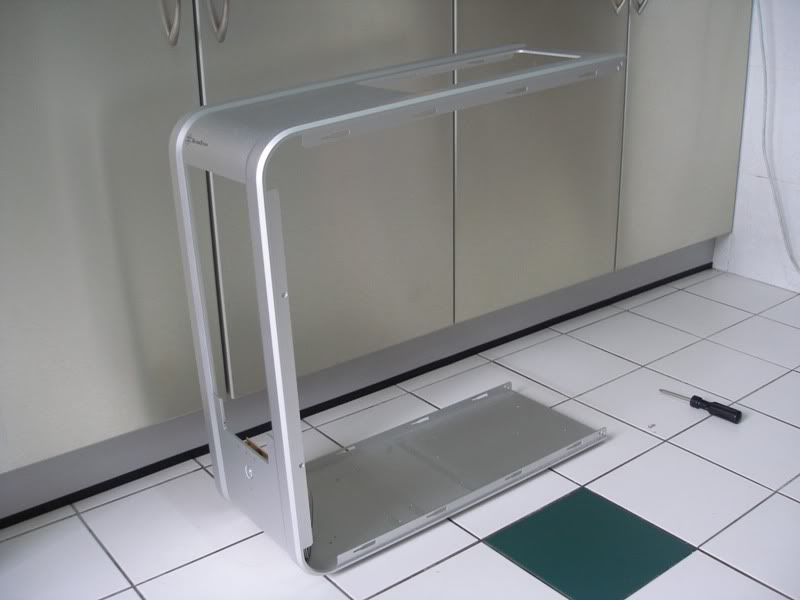
Have any of u guys ever seen a case stripped down to this extent? Now, that's what I call a really cool case.
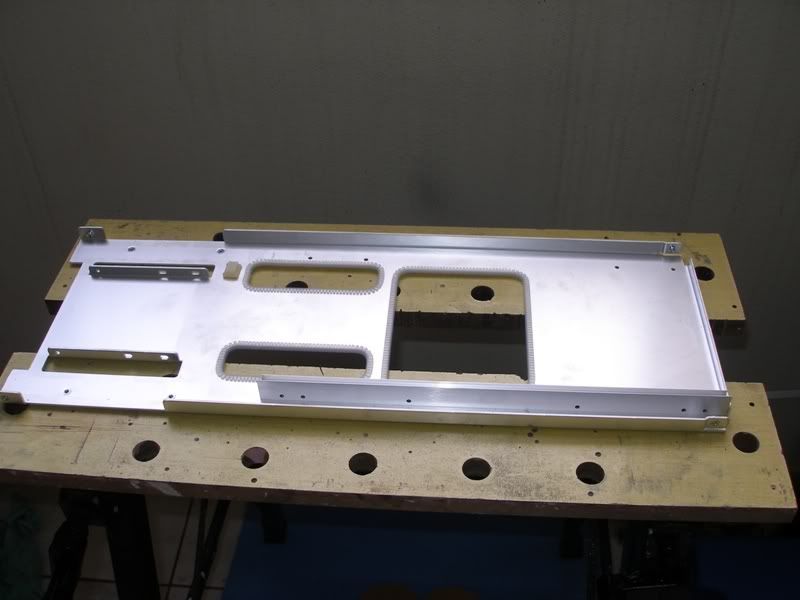
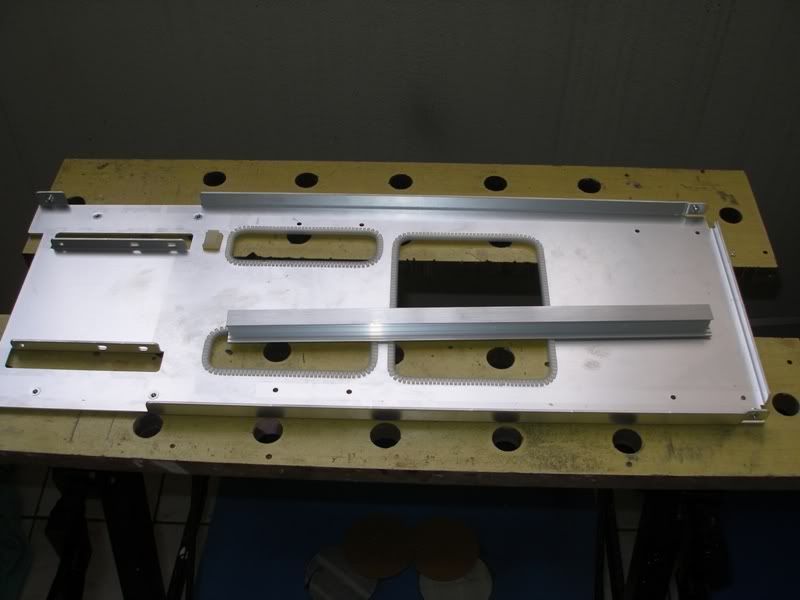
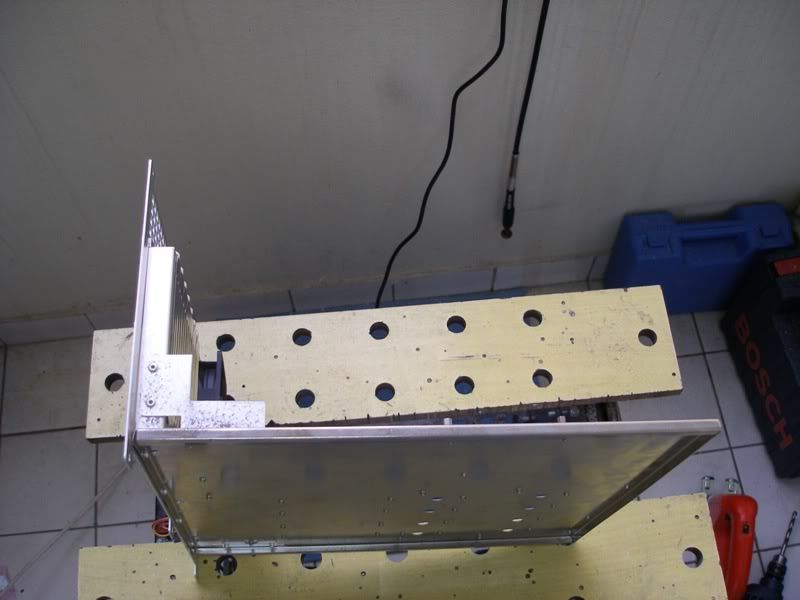
Here's the divider plate. I hafta line up the mobo tray support rail on the other side. This is so I can mark out the place to drill the 3 mounting holes.
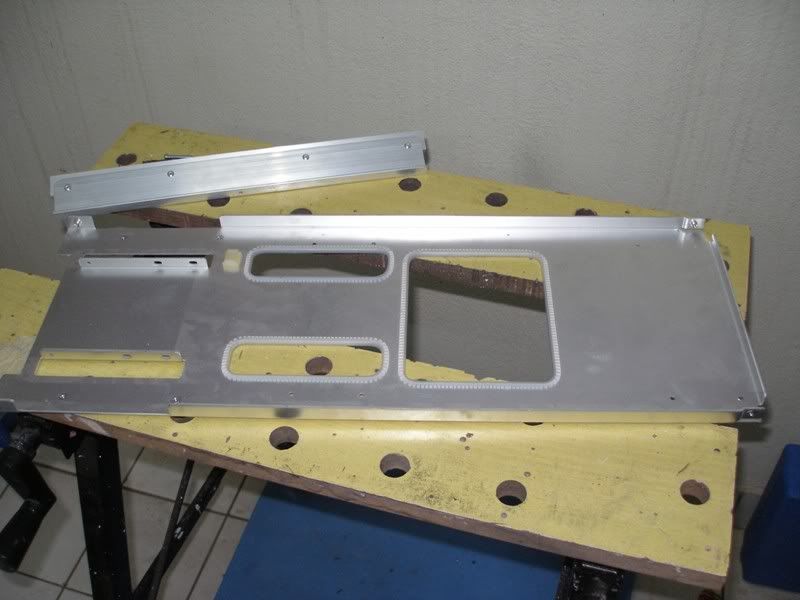
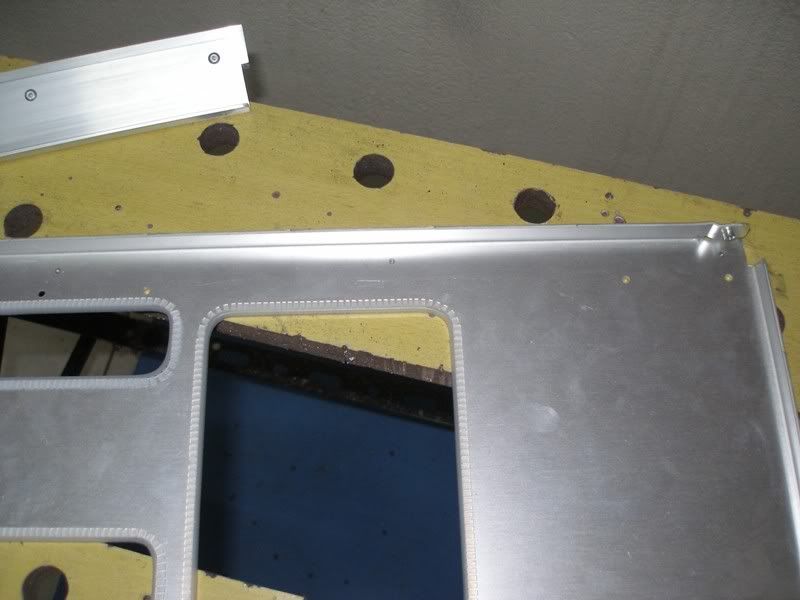
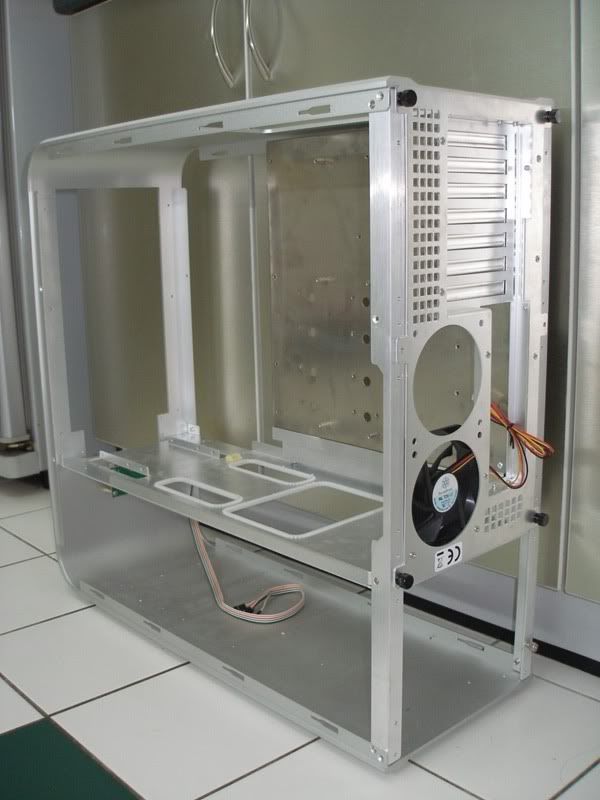
After that, I bolted on the rail n mounted the mobo tray n voila! My BTX mod for the TJ07 is done.
View of the BTX mod from the back.
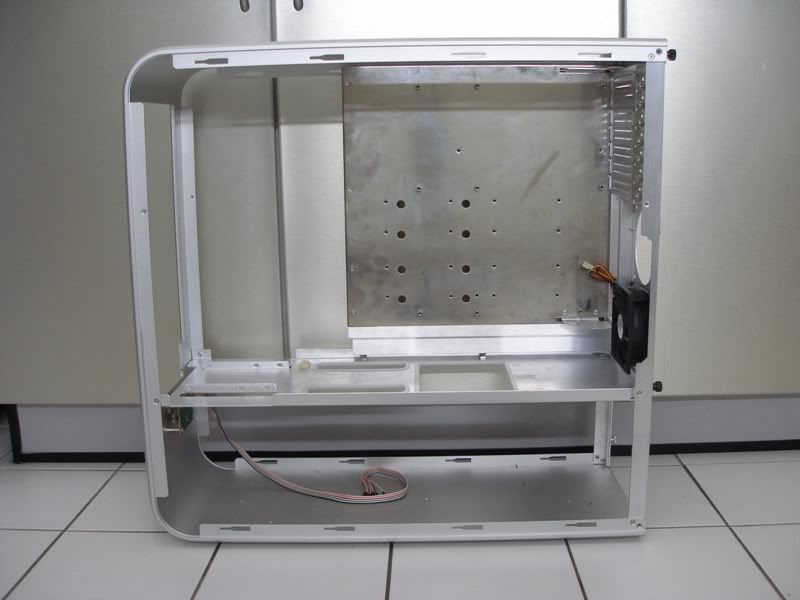
Remember how a stock TJ07's internals looks like? Here it is.
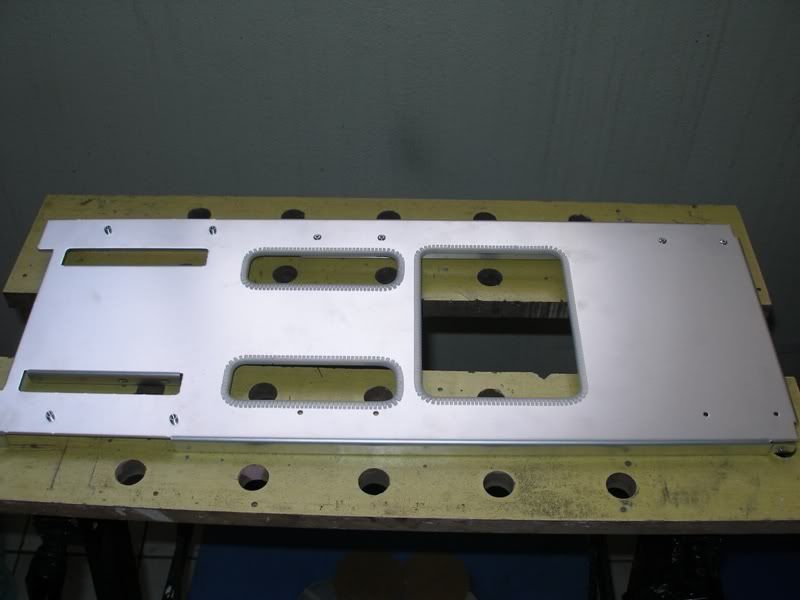
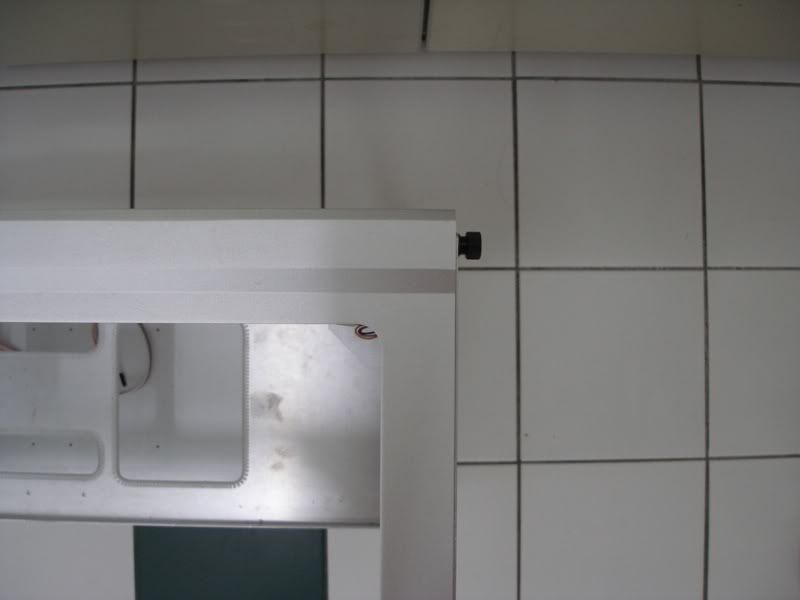
After flipping over the mobo tray to BTX style I hit a slight problem. Look at the triangular plate at the top right corner of the pic. That's gonna block the view n look ugly.

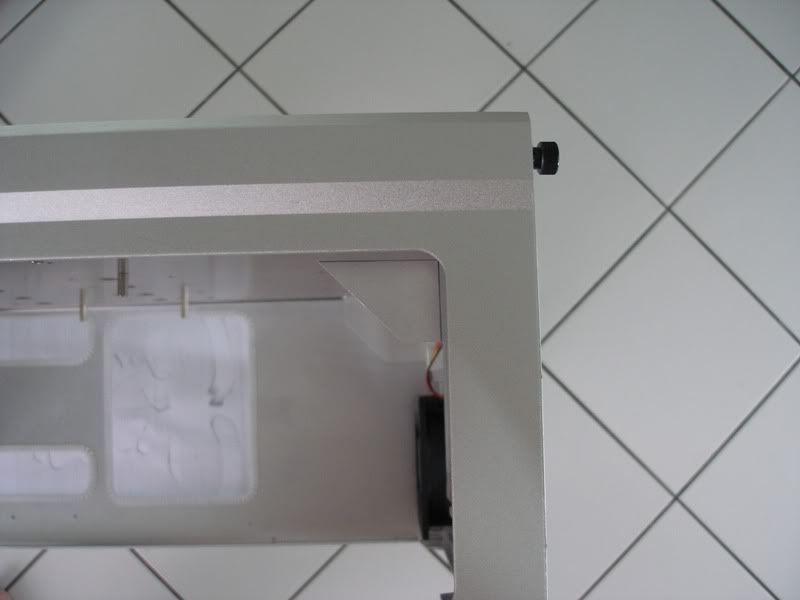
No problem. With a lil bit of Dremel lovin, it'll be nice n trim under that top window.
So I removed the mobo tray for sum cutting n here we are. A nice cut out so that it'll look good under the top window.
After cutting out the triangular plate at the top, I put the mobo tray back in and everything fits perfectly n looks nice now without that thing blocking the view. I also took the time to polish the edges of the edges of the top window to a brushed aluminum look. The standard edging is very very rough as it's extruded aluminum n the edges r pretty rough. I guess Silverstone never thought of cleaning up the edges coz it's covered by the top mesh anyway. Sry I forgot to take sum pix of the polished edges. I will be sure to take sum pix of the polished edges later when the rig is complete. I was in a really big rush to finish this rig for the Silverstone event n I snapped away in no particular order hence some missed pix of the mods it went tru.
Well, that's it for now folks. It's really late n King Kong needs his rest. We'll leave him alone so he can sit back n chill with his well deserved bunch of bananas.

More of the article is coming right up. This article was previously written n posted on a forum with IMG tags. It's taking a while to convert everything to HTML now.
No comments:
Post a Comment