
The Alpha guys in KL have been asking me to show them how I did this mod for a looooooooooooooong time. I'm sooooo sorry guys, been really depressed and never got down to it as you all know I suffered a terrible blow in life when I lost my dear dad. I'm back at last after many months and starting to enjoy photography again.
So................. my solution was to Stealth the camera so that those so called "Pros" will stop harassing me about using a "noob SLR". :)
Here's how I did mine.
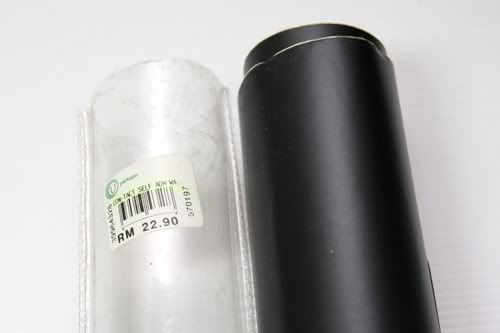
Step 1- Go get yourself a roll of this. It's called Contact Paper. It's actually vinyl material. I got mine from Parkson. Most hardware and departmental stores carry some form of these vinyl self adhesive sheets. A cheaper alternative would be to get s small sheet from your local Advertisement Signboard shop. About 1 square foot should be more than enough for this purpose. I bought a big roll of it since I use it for a lot of other things.
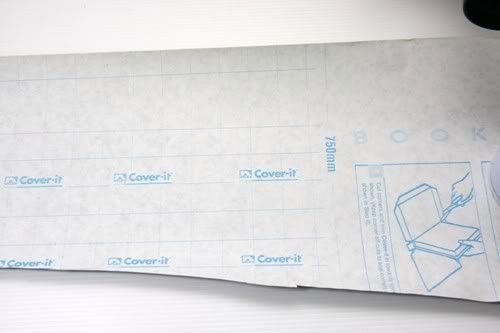
Step 2- Measure the size of the areas you wanna cover up. Then cut them out on some pieces of A4 paper for a trial fit. Once you're happy with the look and fit of the paper, it's time to mark it out on the back of the Contact Paper which is white in color like this.
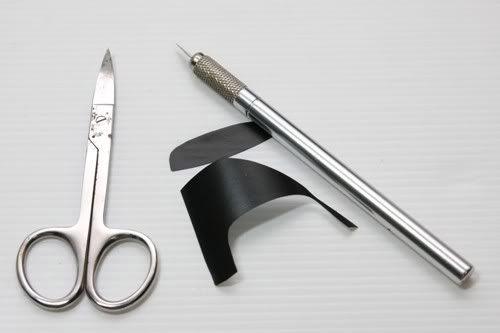
Use a hobby knife(available at most bookshops) and the sharpest pair of mini scissors you have for the cutting. This ensures a nice smooth cut on the Contact Paper for the best results. You can see I've cut out the main piece that covers the SONY word in the picture below.
Step 3- All you have to do now is to stick it on carefully and you'll get this nice smooth result if you're an avid DIY person like me. If yours doesn't turn out as nice, keep on trying since there's a lot of Contact Paper left in the roll. Hehehe.
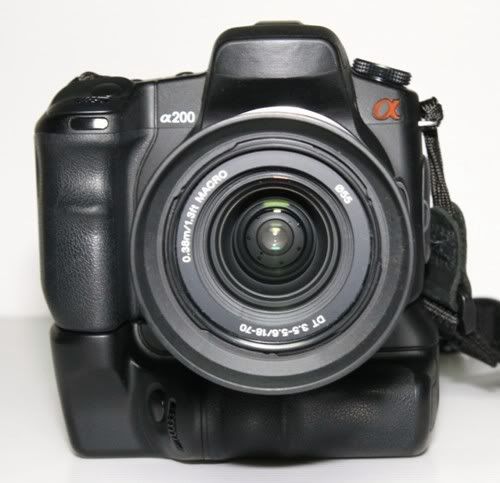
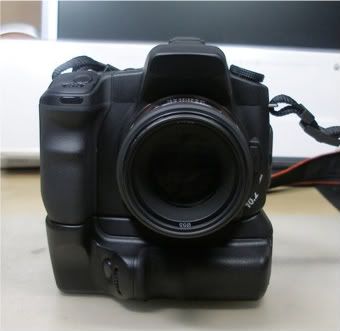
Step 4- This step is optional as most people wouldn't know what A200 or the Alpha symbol means anyway. I did it just so I would have a completely blacked out camera. I love all my things to be blacked out. Even my cars are blacked out. Hehe. So........ just measure and cut the 2 extra pieces for the A200 and Alpha logo and stick em on and the end result is this.

The sticker on the orange Alpha symbol doesn't look very nice because the orange Alpha symbol on mine is a lil bit retarded. It sticks out just a lil bit so there's not much I can do to make it nice and smooth like the SONY and A200 bits that I covered. Anyway, that's only with proper lighting and flash that it shows up like that. In normal everyday usage, it all looks pretty darn good. Here's a pic of it in normal lighting.
Now go out there and enjoy your Sony!
If you liked this article or found it helpful, please check out the advertisements ya? Your support is much appreciated. :) :) :)
No comments:
Post a Comment